
A Beginners Guide to RISCOF
Introduction
RISCOF (RISC-V Compliance Framework) is a tool designed to make sure that processors based on the RISC-V ISA work correctly and follow the rules set by RISC-V. Think of it like a quality check for RISC-V processors, ensuring they are reliable and perform as expected.
Importance
By running tests through RISCOF, developers can verify that their processors fully comply with the official RISC-V standards. It helps to catch any mistakes early, saving time and ensuring that devices powered by these processors will be reliable.
Working
Inputs to RISCOF:
- A YAML specification based on RISCV-CONFIG, detailing the ISA choices.
- A Python plugin to handle test compilation, simulation, and signature extraction.
External Dependencies:
- RISCV-CONFIG validates the YAML file and checks for compliance with RISC-V specs.
- RISCV-ISAC helps assess the quality and coverage of the test suite.
Internal Components
- DBGEN maintains a database of all architectural tests and generates YAML files for relevant tests.
- Test Selector filters applicable tests based on the YAML specification and presents them in a test list.
Execution Flow:
- The user provides the YAML spec and Python plugin.
- The YAML is validated and standardized by RISCV-CONFIG.
- The Test Selector chooses relevant tests based on the configuration.
- Tests are executed on both the user’s model and a reference model, and their results (signatures) are compared.
- If the signatures match, the test is passed. An HTML report is generated to show test results.
Installation steps for RISCOF
To use RISCOF, you’ll need to install Python 3, update your pip (Python package manager), and install RISCOF. Below are the step-by-step commands and what they do:
- Install Python 3:
- Install pip3:
- Upgrade pip:
- Install RISCOF:
sudo apt-get install python3 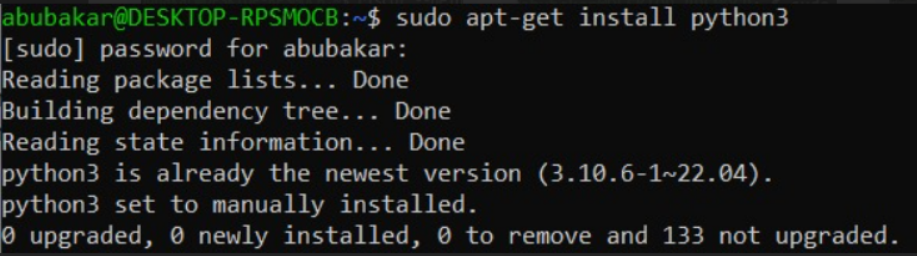
sudo apt-install python3-pip 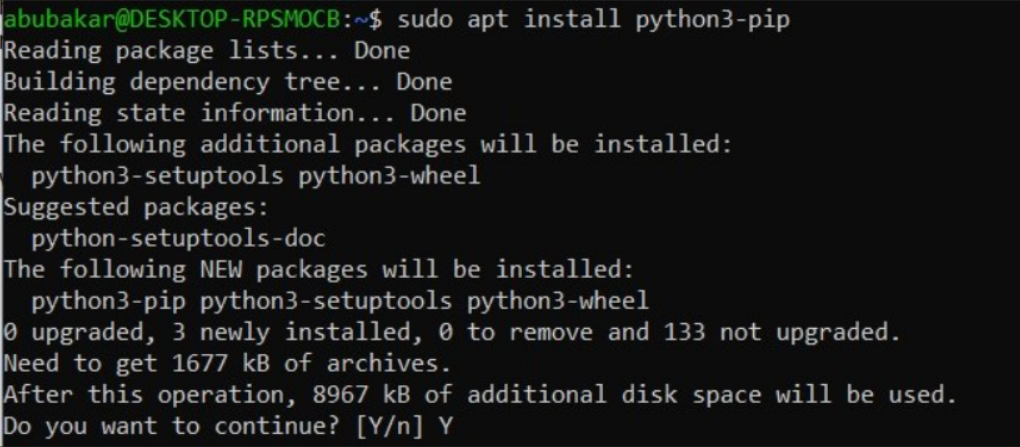
pip3 install --upgrade pipThis updates pip, the package manager for Python, so it can handle the latest packages and dependencies.

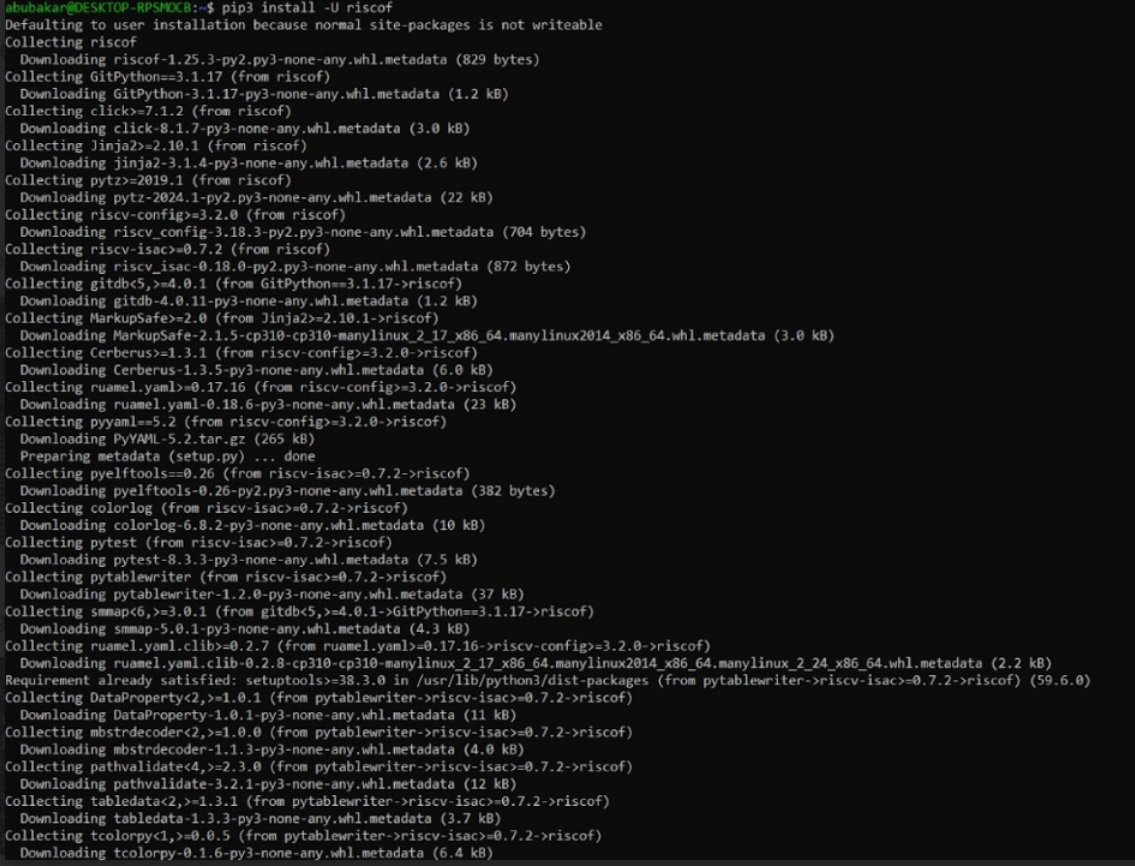
pip3 install -U riscofThis command installs or updates RISCOF, the framework used for RISC-V compliance testing.
Handling Common Installation Error
Sometimes, during the installation, you may encounter this error:
ERROR: riscv-config 3.18.3 has requirement pyyaml==5.2,
This means that RISCOF requires a specific version of pyyaml (a Python package) but you have a different version installed.
To fix this, run the following command:
pip install pyyaml==5.2This installs the correct version of pyyaml (version 5.2). After that, you can rerun the RISCOF installation:
pip3 install -U riscofTesting RISCOF
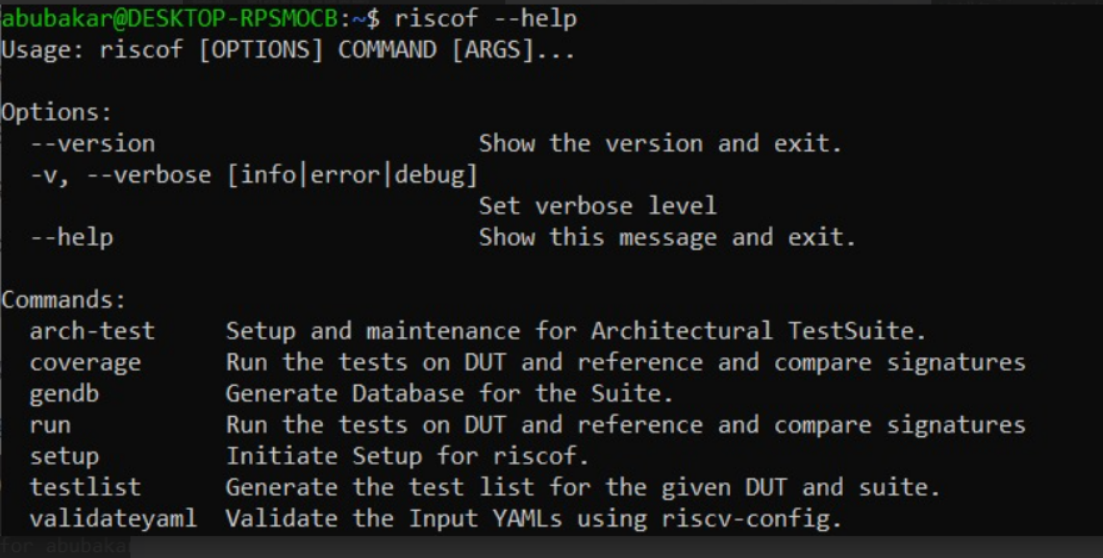
Once you have installed RISCOF you can execute
riscof --helpto print the help routine, it will show the output like this.
Install RISCV-GNU Toolchain
For downloading the riscv-gnu toolchain, first check your ubuntu version. According to the version of ubuntu, corresponding toolchain can be downloaded from the link https://github.com/riscv-collab/riscv-gnu-toolchain/releases/tag/2024.09.03. Toolchain can be extracted on terminal using the command “tar -xvzf (name of the file)”.
Installing Plugin Models
SAIL and Spike are the two reference models that are used as reference models in RISCOF. We will go through its installation steps.
SAIL
- Install dependencies:
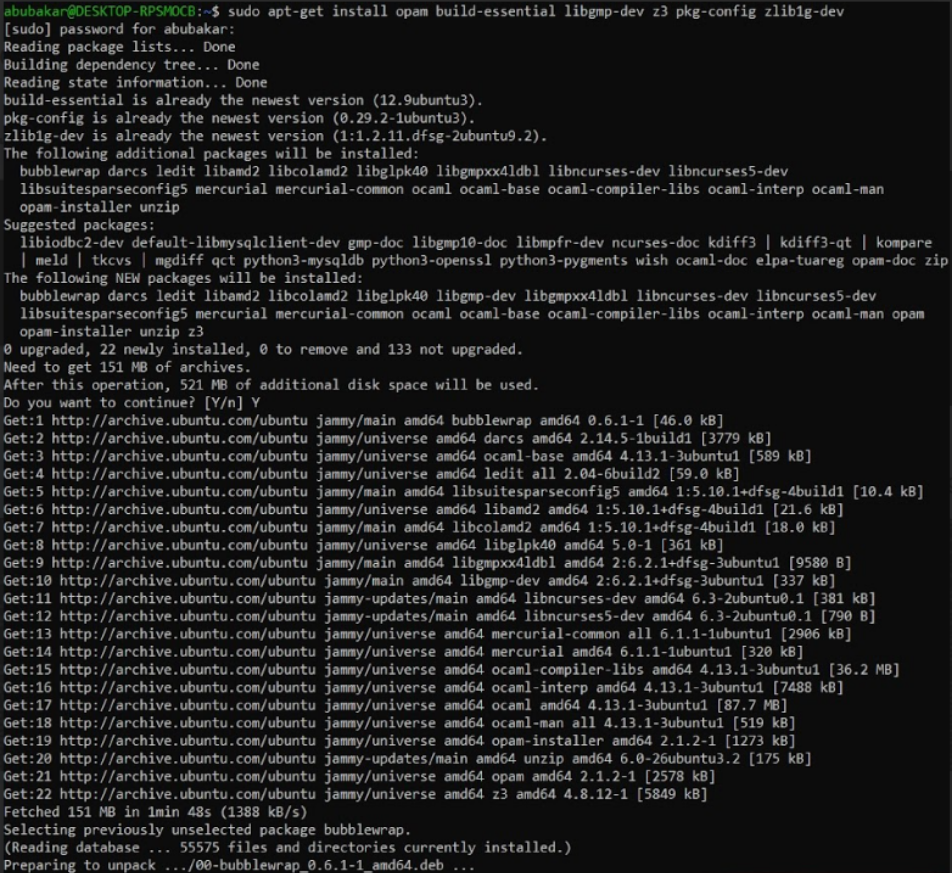
sudo apt-get install opam build-essential libgmp-dev z3 pkg-config zlib1g-devThis command installs essential tools and libraries:
- Opam: A package manager for OCaml, which Sail is written in.
- build-essential: Includes the compiler and other tools needed to compile software.
- libgmp-dev: A library for arithmetic operations (used by Sail).
- z3: A theorem prover used by Sail for formal verification.
- pkg-config and zlib1g-dev: Libraries for handling dependencies.
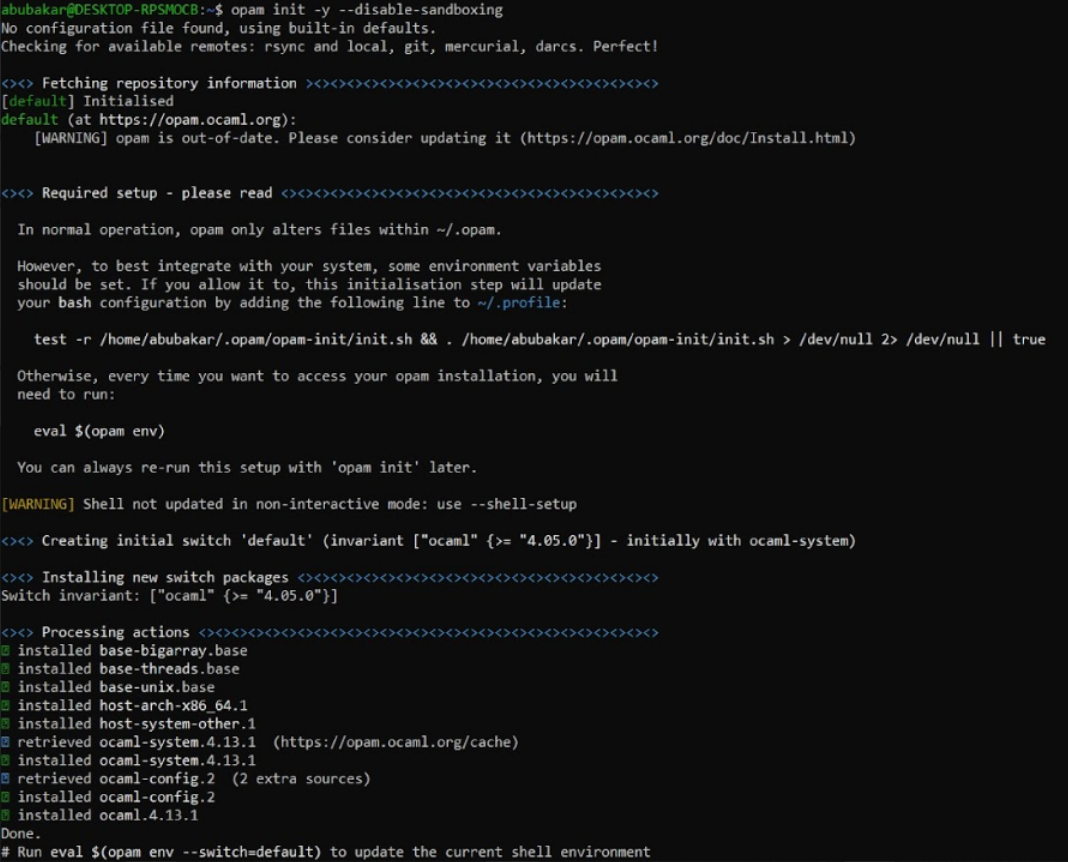
opam init -y --disable-sandboxingThis initializes OPAM, the OCaml package manager, to install OCaml packages. The –disable-sandboxing option avoids permission issues during installation.
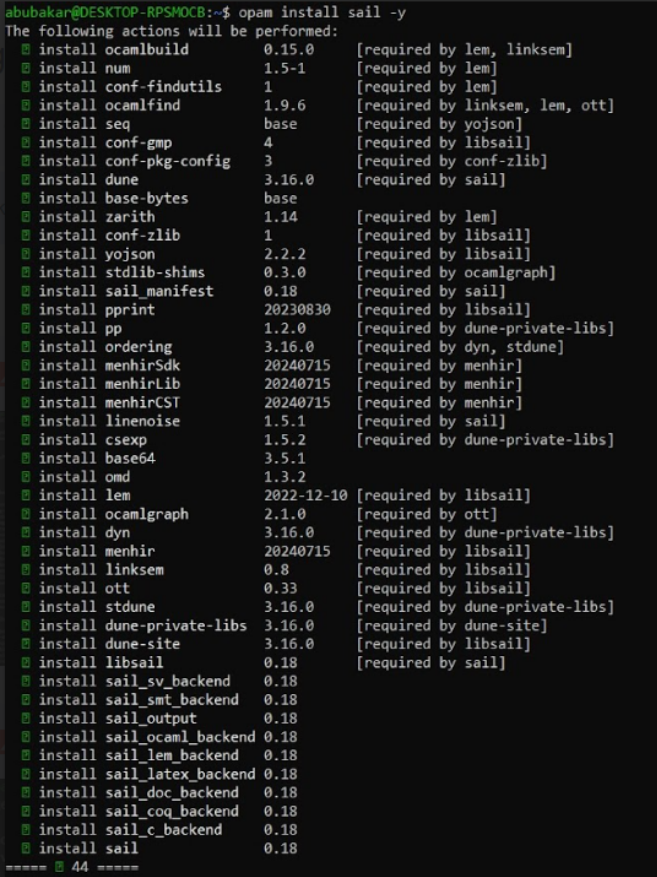
opam install sail -yThis installs the Sail package from OPAM, which provides the Sail RISC-V specification.
eval $(opam env)This command configures your shell environment to use the installed OPAM packages. It makes sure Sail and other installed tools are available in your current session.
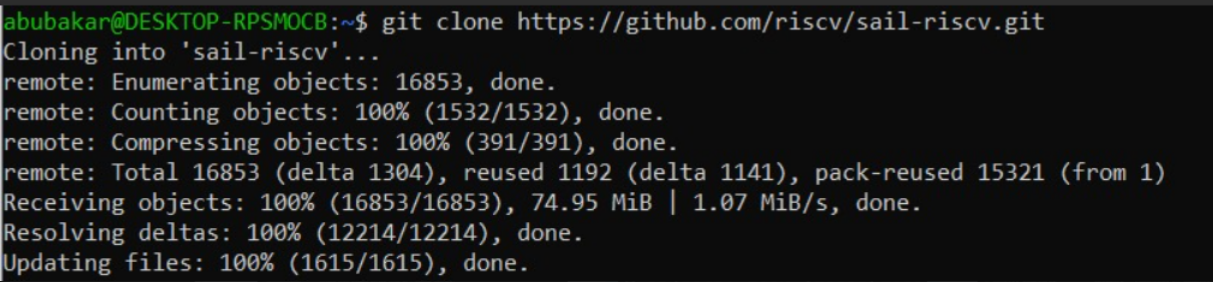
git clone https://github.com/riscv/sail-riscv.gitThis clones the official Sail RISC-V repository from GitHub, which contains the RISC-V models and emulators.
cd sail-riscvARCH=RV32 makeARCH=RV64 makeThese commands build the RV32 (32-bit) and RV64 (64-bit) RISC-V architecture models using the Sail tool. The make command compiles the source code into an executable emulator.
sudo ln -s sail-riscv/c_emulator/riscv_sim_RV64 /usr/bin/riscv_sim_RV64 sudo ln -s sail-riscv/c_emulator/riscv_sim_RV32 /usr/bin/riscv_sim_RV32These commands create shortcuts (symbolic links) in /usr/bin so you can easily run the RISC-V simulators from any directory. By doing this, you can just type riscv_sim_RV64 or riscv_sim_RV32 to launch the respective simulator.
`export PATH=~/sail-riscv/c_emulator:$PATH`This adds the Sail RISC-V emulator directory to your system’s `PATH`. It ensures that the system can find and run the emulator from any location. This path is to be added in the bashrc file using “nano ~/.bashrc”.
SPIKE
- Install the Device Tree Compiler:
- Clone the RISC-V ISA Simulator Repository:
- Navigate to the Project Directory and Create a Build Folder:
- Configure the Build Environment:
- Compile the Simulator:
- Install the Simulator:
- Confirming the installation:
sudo apt-get install device-tree-compilerThis command installs the Device Tree Compiler. This tool is required by many RISC-V projects, including the ISA simulator, as it helps manage hardware configuration information.
git clone https://github.com/riscv-software-src/riscv-isa-sim.gitThis downloads the riscv-isa-sim repository from GitHub, which contains the Spike simulator source code. Spike is the official RISC-V ISA simulator used to run and debug RISC-V binaries. If cloning shows an error “fatal : early EOF”, then clone it again.
cd riscv-isa-sim
mkdir build
cd build
Here, you navigate into the cloned repository folder (riscv-isa-sim) and create a build directory where the compiled code will be stored. The build directory helps keep the source code separate from the compiled files.
../configure --prefix=$RISCVThis command configures the build system for the RISC-V ISA simulator. The –prefix=$RISCV option tells the build system where to install the simulator binaries. You need to have $RISCV environment variable set up beforehand (pointing to your preferred installation directory).
makeThis command compiles the simulator using the build instructions created during the configuration step. It turns the source code into executable binaries.
make installThis installs the compiled simulator binaries to the directory specified by $RISCV. After this step, the Spike simulator will be available for use, allowing you to simulate and test RISC-V programs.
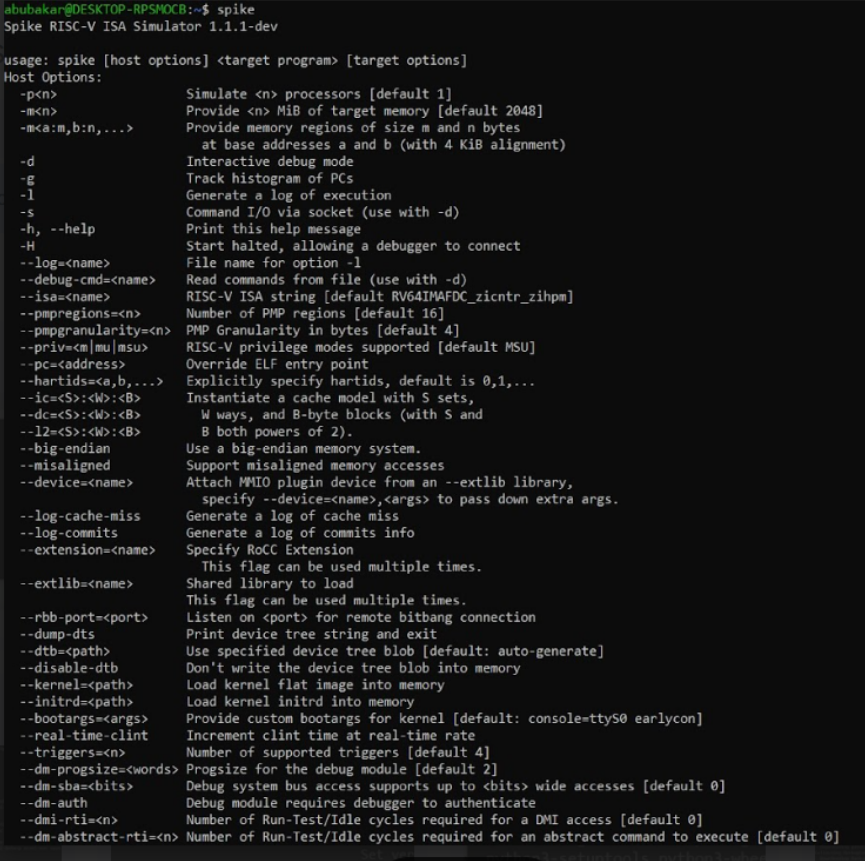
spikeWrite spike on the terminal to check whether it shows the same output.
Installation of Verilator
For correct working of RISCOF, verilator needs to be installed too by the command.
sudo apt install verilatorTo check that Verilator was installed correctly by running:
verilator --versionTesting RISCOF on UETRV-PCore-main
First of all, we need to clone UETRV-PCore-main from git using the command git clone https://github.com/ee-uet/UETRV-PCore.git. Then, change your directory by using the command
cd UETRV-PCoreThen, change your directory to verif by using the command
cd verifThen, clone the repository from git using the command
git clone https://github.com/riscv-non-isa/riscv-arch-test.gitMake sure it is cloned correctly. After this, we will open the readme file from verif folder and run the following command from verif directory.
riscof run --config=config.ini \ --suite=riscv-arch-test/riscv-test-suite/ \ --env=riscv-arch-test/riscv-test-suite/envIf it still shows an error regarding riscv_sim_RV32, make sure the right path is added bashrc file.
It will run the tests defined by ISA string RV32IM in pcore_isa.yaml. At the end, RISCOF will generate a report describing the pass/fail status of the tests. riscof_work directory will be created containg the report and the artifacts of DUT and Reference model. The demo is shown here: